Renewing Your Kitchen Faucet Yourself
 If you want to upgrade your kitchen using some easy, quick and cheap techniques, replacing your kitchen faucet is one of the primary things you should do. It is really easier than you think. Here are some easy steps through which you can achieve that.
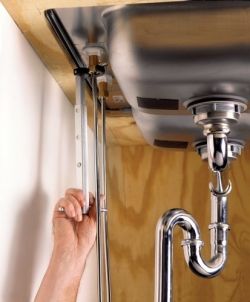
The simplest replacement is one that will fit well into the same holes already cut into your counter or sink. Take some measurements and a photo with you while shopping for a new faucet. Take a look below the sink, inside the cabinet, to check what type of hookups you need to see if they also have to be replaced. If you have rigid older copper pipes, you might want to replace them with flexible supply lines.
While shopping for a replacement, you also have to consider style. Obviously you want the newest style, but it should fit in with what you have already.
Turn the water supply to your sink off at the cutoffs inside the cabinet. Allow the faucet to run to drain all the water in this line out.
Unfasten the water supply lines from the old faucet.
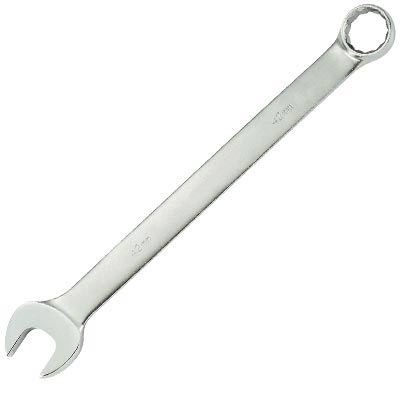
Loosen the nuts of your existing faucet. Some connections may be on top of the sink, but others will be on the underside. You may require special tools to remove the underside nuts. A basin wrench, and not a standard wrench, will help you loosen the nut at this awkward corner. Another alternative is to use a ratchet wrench having an extension.
Remember to clean off any old caulk left behind on the countertop or sink.
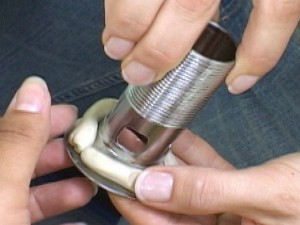
Apply the new caulk or putty to the underneath of the new faucet base. If the faucet has a rubber gasket, you won’t require to putty. Keep the new faucet into place, as straight as possible and start tightening the mounting nuts. Before finishing, restraighten the faucet and then complete tightening the nuts.
Attach you supply lines and start the water flow again. After ensuring that there are no leaks, test the new faucet.
You will love to take a look at the new faucet, because it’s new and you on your own have installed it.


